Cold Process vs Melt and Pour: Oatmeal Honey Soap Bars
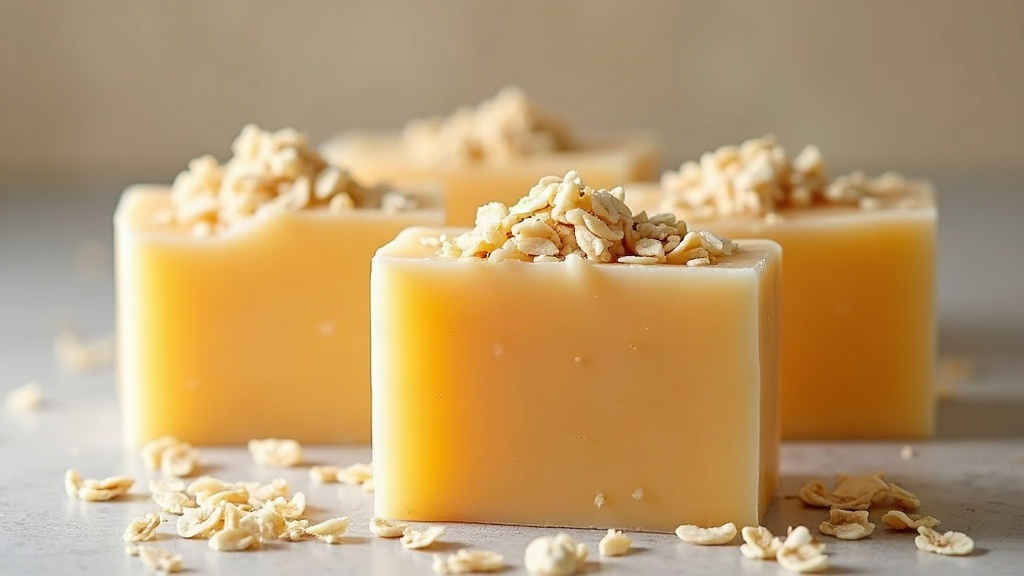
If you are planning your first batch of oatmeal honey soap, you will immediately hit a roadblock. Should you use the cold process method or grab a melt and pour base? Cold process puts you in the driver’s seat. You control every drop of oil and get a rustic, artisan texture. Melt and pour skips the chemistry. It is ridiculously fast, practically foolproof, and ready to use before dinnertime. Let us look at how both techniques handle the tricky combination of oats and honey so you can decide which route fits your weekend plans.
Understanding the Two Methods
Cold Process Soap Making
Here is the traditional science of soap. You mix fatty oils with a lye (sodium hydroxide) solution. This triggers saponification, a chemical reaction that slowly turns raw fats into actual soap over several weeks.
Key characteristics:
- You must handle lye safely (think thick rubber gloves, safety goggles, and an open window).
- Total control over your recipe, from the olive oil blend to the exact superfat percentage.
- Patience is mandatory. You will wait four to six weeks for the bars to cure.
- The payoff is a rock-hard, incredibly long-lasting bar of soap.
- Endless room to tweak the lather and skin feel.
Melt and Pour Soap Making
This method skips the chemistry lab entirely. You start with a pre-made block of soap, usually heavy in glycerin. You chop it up, melt it in the microwave, stir in your fun ingredients, and pour it into a silicone mold. Saponification happened weeks ago at a factory.
Key characteristics:
- Instant gratification. Your soap is fully solid and ready for the shower in under two hours.
- Zero lye means zero safety gear.
- You cannot change the base oils. If the manufacturer used cheap palm oil, you are stuck with it.
- Perfect for rainy afternoon crafts with kids or whipping up last-minute holiday gifts.
- Glycerin bases tend to feel softer and might develop “dew” (sweat) on the surface if your bathroom gets humid.
Why Oatmeal Honey Bars Are a Great Test Case
Oatmeal and honey make a brilliant pair. Ground oats gently scrub away dead skin cells, while honey pulls moisture from the air right into your skin. People with eczema or dry winter patches love this combination. But these two ingredients act completely differently depending on how you make the soap.
Cold Process with Oatmeal and Honey
- Honey actually caramelizes. The intense heat of saponification scorches the sugars. This creates a gorgeous, warm amber color and a toasted scent. But go overboard, and your soap batter will overheat, crack down the middle, or erupt out of the mold like a volcano. Stick to exactly one tablespoon of honey per pound of oils. Add it right at the end (at trace).
- Colloidal oatmeal blends flawlessly. It suspends perfectly in the thick, raw batter. You get even exfoliation in every single slice.
- You dictate the superfat. Leaving 5% to 8% of the oils unsaponified makes these bars incredibly rich and moisturizing.
- That long month of curing creates a dense bar that survives weeks in a wet shower without turning to mush.
Melt and Pour with Oatmeal and Honey
- Stirring in the goods is wildly simple. You just drop them into the melted liquid a minute before pouring.
- You miss out on the caramelization magic. The honey just stays honey. The soap still smells fantastic, but it lacks that deep, rustic color change.
- Gravity is your enemy here. If you pour the base while it is piping hot, all your oatmeal will sink straight to the bottom of the mold. You have to wait until the base cools and thickens slightly before pouring.
- It is the ultimate testing ground. Want to see if three tablespoons of oats is too scratchy? You will know in an hour instead of a month.
Which Method Should You Choose?
Choose cold process if you:
- Demand absolute control over what goes on your skin (specific oils, exact superfats).
- Find the idea of waiting six weeks for a cure totally fine.
- Feel comfortable suiting up to mix lye water.
- Crave a professional, hard bar that lasts for months.
Choose melt and pour if you:
- Need party favors ready by tomorrow morning.
- Are completely new to the hobby or want a safe craft for a ten-year-old.
- Just want to play around with different amounts of honey and oats.
- Refuse to keep lye anywhere near your kitchen.
Practical Tips for Both Methods
- Grind those oats to dust. Use a coffee grinder to make fine oat flour, or buy colloidal oatmeal. Whole breakfast oats look cute pressed on top, but they feel like sandpaper when you rub them on your arms in the shower.
- Watch the temperature. For cold process, mix your lye and oils at cooler temperatures (around 90 degrees Fahrenheit) to stop the honey from boiling over. For melt and pour, let the liquid cool just enough to get slightly gloopy so the honey does not separate.
- Invest in a slotted soap dish. Honey is a humectant. It drinks up moisture. If you leave a honey oat bar sitting in a flat puddle on your sink, it will quickly dissolve into slime.
- Always run a small test batch. Sugar speeds things up. In cold process, honey makes the batter harden incredibly fast. Test a one-pound batch before ruining five pounds of expensive oils.
Conclusion
Making a perfect batch of oatmeal honey soap really comes down to your weekend schedule and your appetite for chemistry. You can put on the safety goggles, measure out lye, and craft a masterfully customized cold process bar. The wait is agonizing, but the rich, hard soap at the end is unmatched. Or you can grab a block of glycerin base, melt it down, and have a beautiful, skin-soothing bar cooling on the counter before your coffee gets cold. Plenty of seasoned makers actually do both. They run massive cold process batches for their daily use and keep melt and pour on hand for last-minute birthdays. Pick the route that matches your patience level and start mixing.