How to Make Frost-Resistant Winter Beeswax Candles for Unheated Cabins
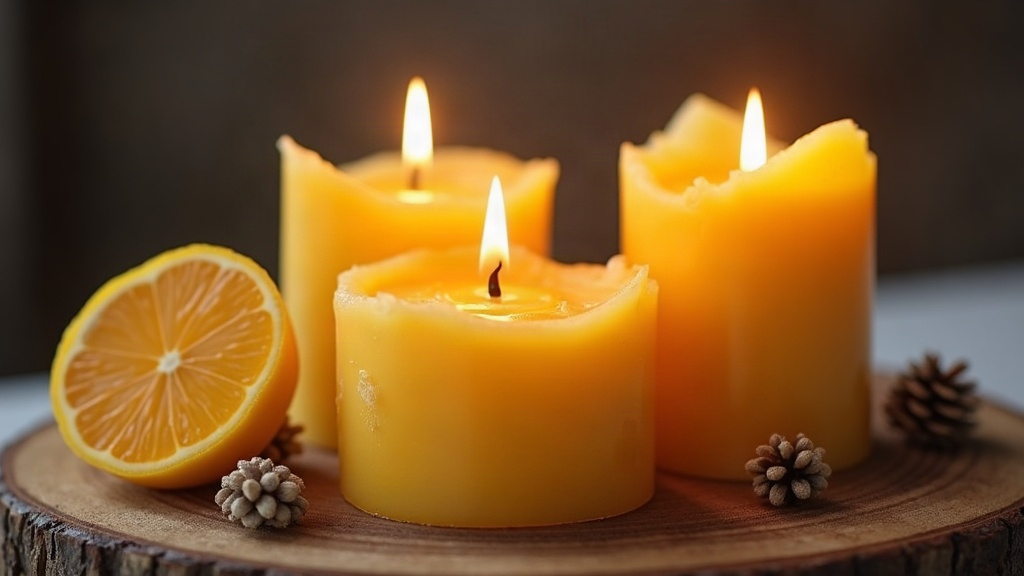
If you’ve ever lit a store-bought candle in an unheated cabin and watched it tunnel down the middle, sputter, or just refuse to hold a flame, you already know cold changes everything about how wax behaves. Making frost-resistant beeswax candles comes down to getting three things right: your wax ratio, your wick size, and your curing process. Get those dialed in and the candle will perform reliably even when the room hovers near freezing. Here’s exactly how to do it.
Why Cold Temperatures Ruin Ordinary Candles
Beeswax is naturally harder and more temperature-stable than paraffin or soy, but even it starts struggling once you drop below 40°F (4°C). Here’s what typically goes wrong:
- Tunneling. The wax pool never reaches the outer edge because cold air chills that wall faster than the wick can melt it. You end up with a candle that’s burned a narrow tube down the center while half the wax just sits there, wasted.
- Weak or drowning flames. A wick sized correctly for a 70°F living room often can’t generate enough heat in a cold cabin, so the flame shrinks, drowns in its own pool, or goes out entirely.
- Cracking. A cabin that warms up during the day and freezes again at night puts real stress on a solid wax block. Those temperature swings cause fractures you can sometimes hear as faint popping sounds.
- Poor scent throw. Cold wax releases fragrance oils much more slowly, which is why candles that smelled great in the shop go nearly scentless in a cold cabin.
Frost-resistant candles are built specifically to counter all four of these.
Choosing the Right Wax Blend
Pure beeswax (100%) is a solid choice for cold climates thanks to its high melting point (144–147°F) and natural hardness. The catch? In extreme cold it can be too stiff to burn well on its own. For unheated cabins, blend it instead:
- 80% beeswax for structure, a slow burn, and that natural honey scent
- 20% coconut wax or soy wax to soften the blend and improve cold-weather ignition
This combination cuts the cracking risk while keeping the long burn time beeswax is famous for. A beeswax candle can easily burn 2 to 3 times longer than a paraffin candle of the same size, so the extra effort pays off.
Sizing Your Wick for Cold Air
This is probably the single biggest adjustment you’ll make. A wick that burns perfectly indoors at 70°F will often drown in a 35°F cabin, and no amount of trimming fixes that.
- Go one size up from whatever you’d normally use (if a CD-10 works at room temperature, try a CD-12 in the cold).
- Favor wooden or cotton-core wicks. Wood wicks in particular tend to self-regulate heat output better when there’s a cold draft moving through the room.
- Always test-burn a sample in the actual cold space before committing to a full batch. Wick charts are written assuming a standard heated room, and a cabin doesn’t play by those rules.
Step-by-Step: Making the Candle
- Melt the wax blend slowly in a double boiler, up to 160–170°F. Beeswax scorches easily under direct heat, so don’t rush this step.
- Add fragrance oil (if you’re using it) around 155°F. Cedar, pine, clove, or spiced orange hold up particularly well in cold air and suit a cabin setting nicely.
- Preheat your container or mold to around 100°F. Skipping this one step is the fastest way to end up with frosting and cracks, since cold glass or metal shocks the wax the second it’s poured.
- Pour slightly hotter than usual, around 150°F instead of the typical 135°F, to slow down the cooling rate and reduce surface cracking.
- Insulate while cooling. Wrap the mold in a towel or set it inside a slightly warmed box. Rapid cooling in cold air is the number one cause of sinkholes and that frosty-looking surface texture nobody wants.
- Cure for 10 to 14 days. Beeswax already needs more patience than soy or paraffin, and cold-climate blends benefit even more from the extra time to fully harden and bond the fragrance.
Storage and Burning Tips for Unheated Spaces
- Store finished candles above freezing whenever you can. Repeated freeze-thaw cycles wear down wick life faster and cause surface frosting (that white, textured bloom on the wax, which is harmless cosmetically but can throw off how evenly the candle burns).
- If a candle’s been sitting somewhere below 20°F, let it warm at room temperature for 30 minutes before lighting it.
- Trim the wick to ¼ inch before every single burn. Cold wicks mushroom faster than warm ones and will soot up if left too long.
- On the first light, burn for at least 1 hour per inch of diameter to establish a full, even wax pool. Skip this and you’re setting yourself up for tunneling later.
Final Thoughts
There’s no single trick to a frost-resistant beeswax candle. It’s the combination: the right wax ratio, an upsized wick, a slower and hotter pour, patient curing. Get all four right and the candle will burn evenly, throw scent properly, and shrug off cracking even in a cabin that drops well below freezing overnight. Test a batch, adjust where needed, and you’ll have steady, cozy light all winter, no matter how brutal it gets outside.